Set up your MDM account: Microsoft Intune
| Important: Every effort has been made to provide information that is current and accurate. While this information is considered to be true and correct at the date of (January, 2024), changes in content after that time may impact the accuracy. |
To use Microsoft Intune with the Destiny Resource Manager Mobile Device Management (MDM) Integration feature, you need to do some setup.
Credentials
To connect Microsoft Entra to Destiny Mobile Device Management (MDM), the following three credentials are required from the Microsoft Entra admin center:
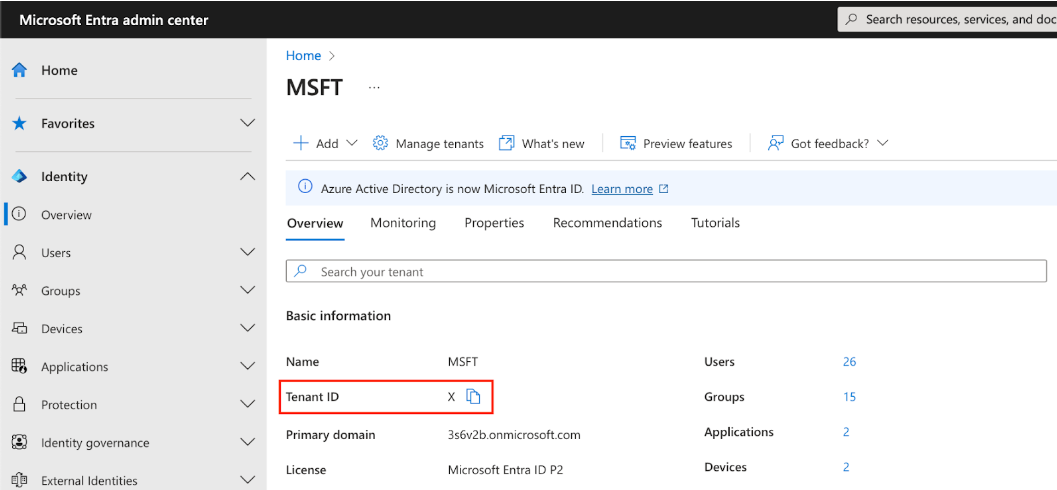
- Tenant ID:
To find the Tenant ID, select Identity > Overview.
- Client ID
- Select Identity > Applications > App Registrations.
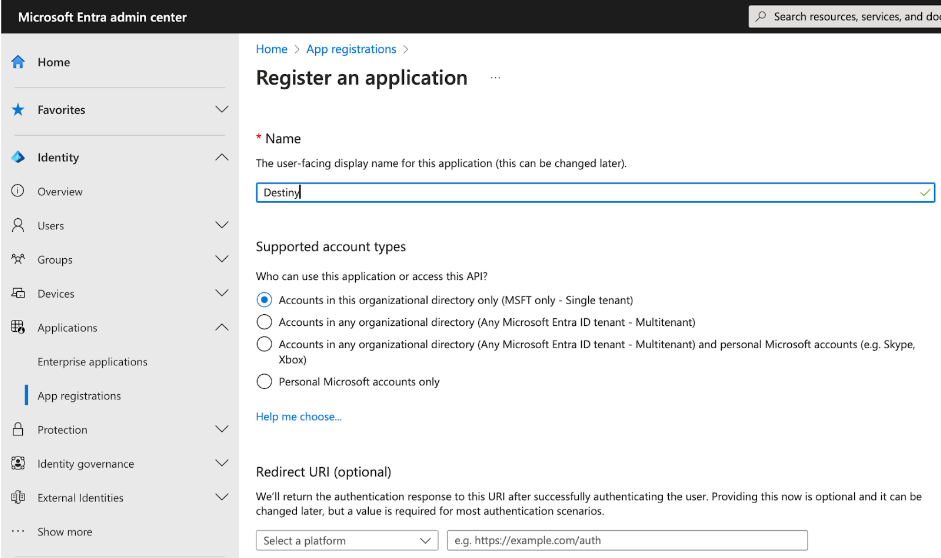
- Enter a name, such as Destiny (recommended).
- Under Supported account types, select Accounts in this organizational directory only (MSFT only - Single tenant).
After you register, your Client ID appears under App registrations > Overview.
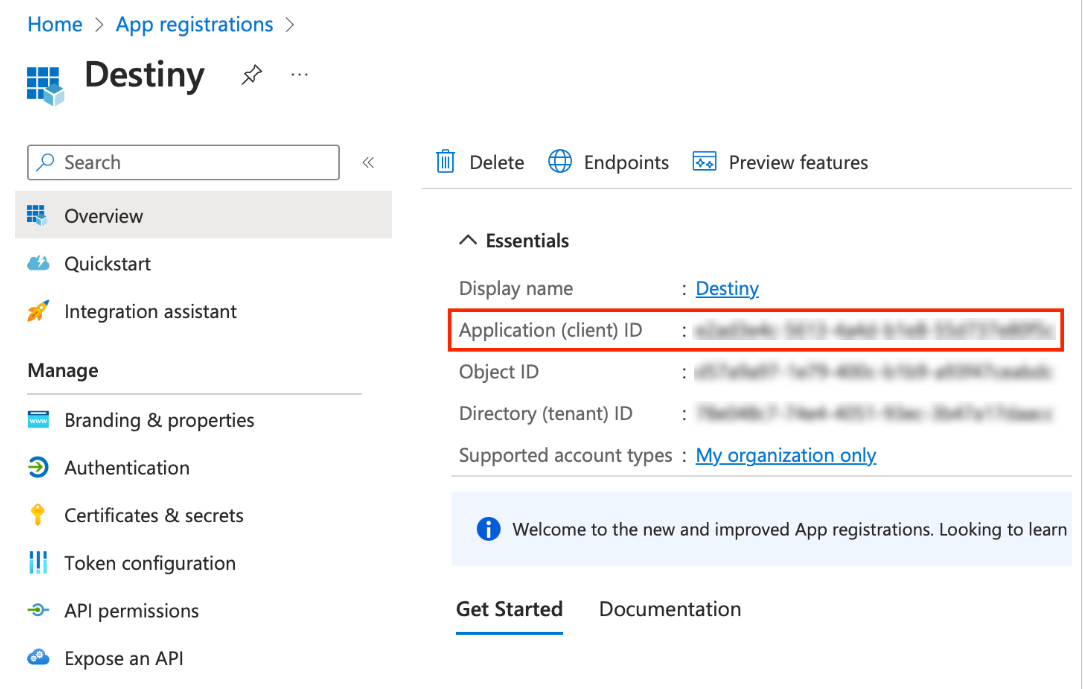
- Select Identity > Applications > App Registrations.
- Client Secret:
- Select Applications > App registrations > Destiny.
- Under Manage, select Certificates & secrets.
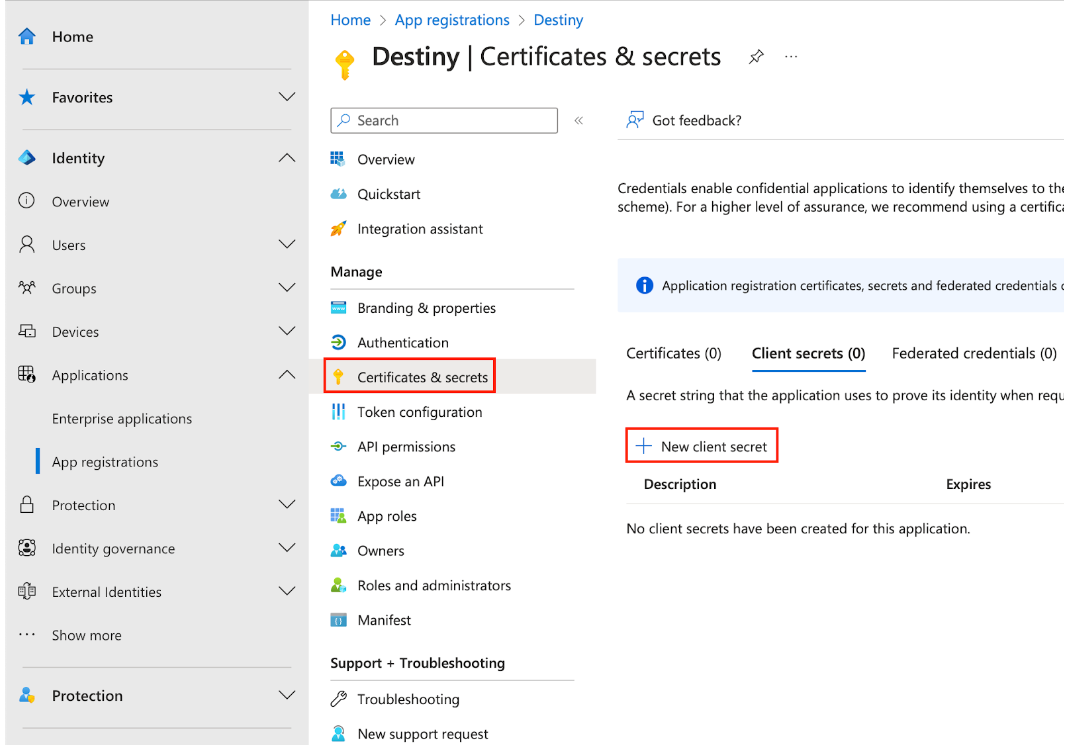
- Click + New client secret.The 'Add a client secret' pop-up appears.
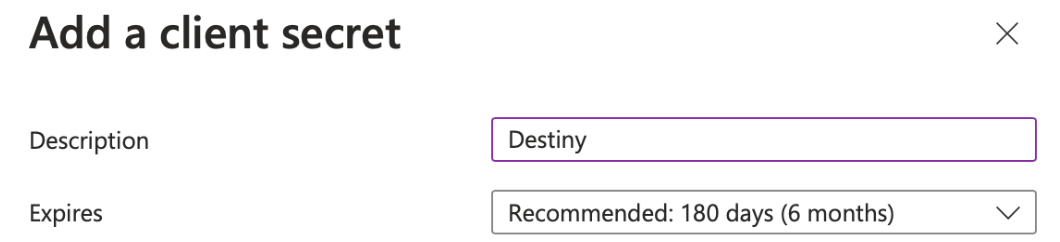
- Enter a name in the Description field, and select an expiration date from the drop-down.
Note: Once the secret is created, its value is visible until the page is closed.
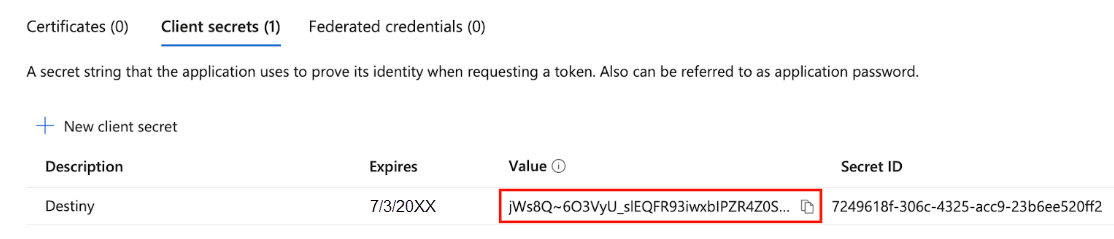
Important: Client secret values can only be viewed immediately after creation. Be sure to save the secret before leaving the page.
API Permissions
To use all of the features available in Destiny Mobile Device Management (MDM), an application must have related privileges and access levels set up. This lets you read and write data, when needed.
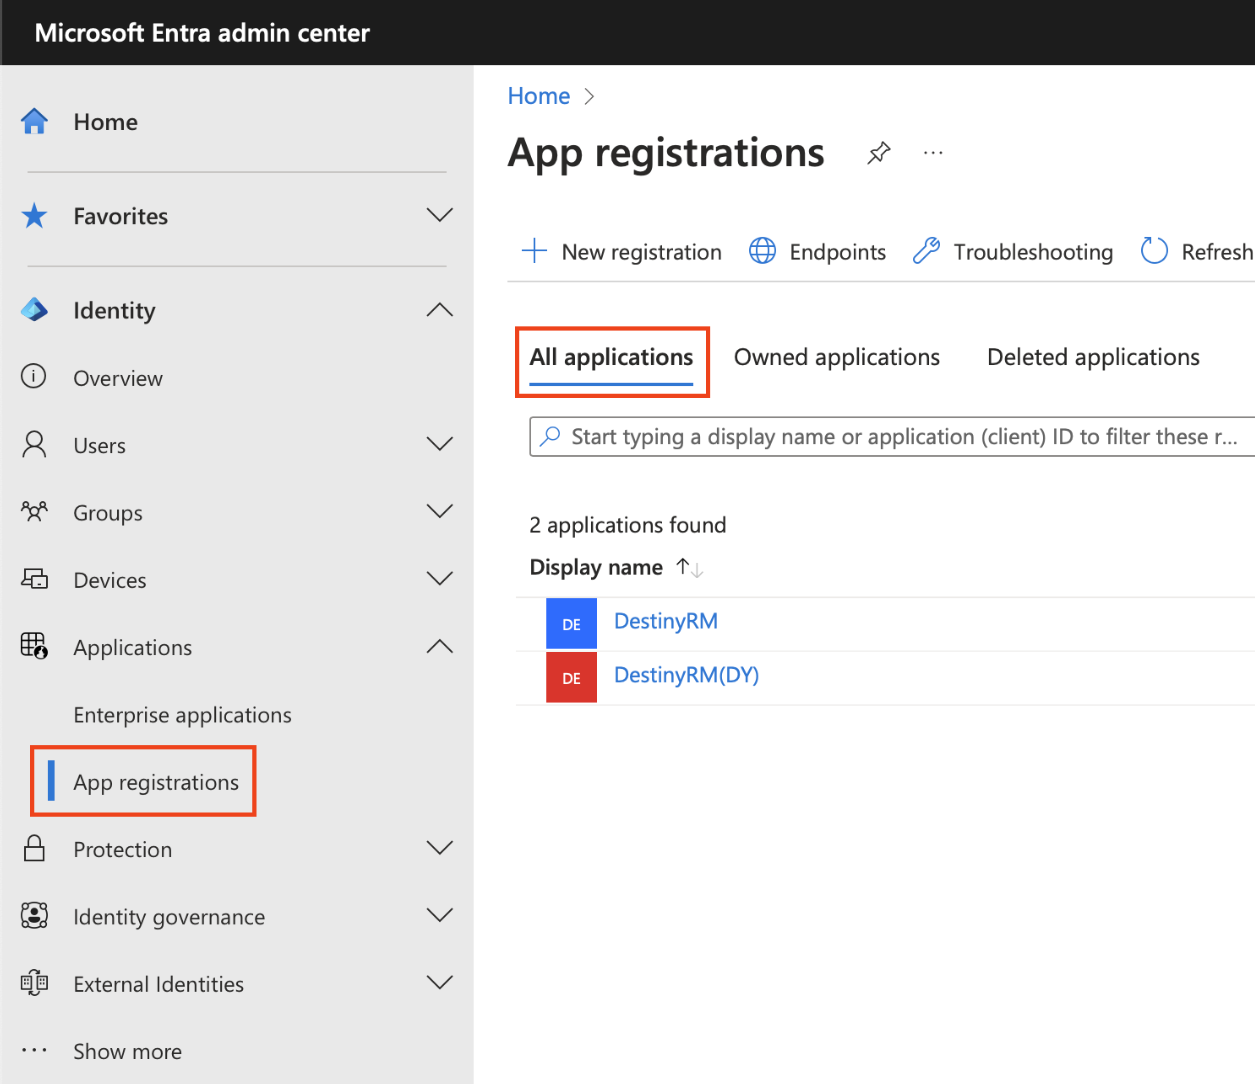
- Sign in to the Microsoft Entra admin center.
- If you have access to multiple tenants, in the top right corner, click the settings icon,
 . Then, select the desired Directory name.
 - Select Identity > Applications > App registrations > All applications and select your client application.
- Select API permissions > + Add a permission.
Note: This is different from your web API. 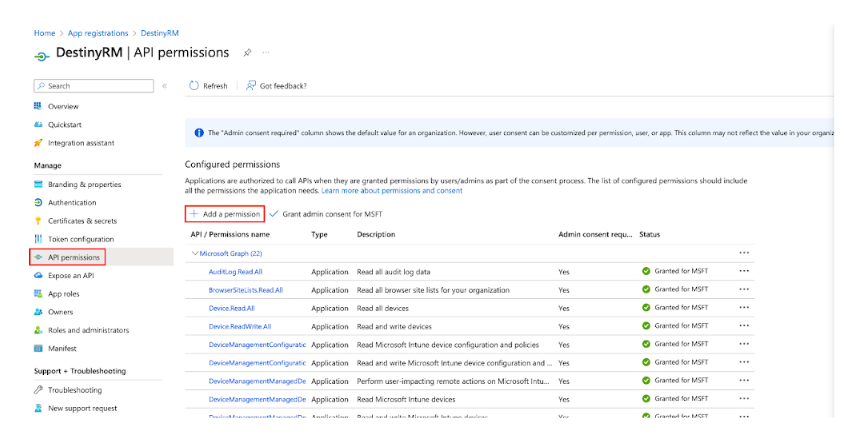
- On the Request API permissions page, click Microsoft Graph.
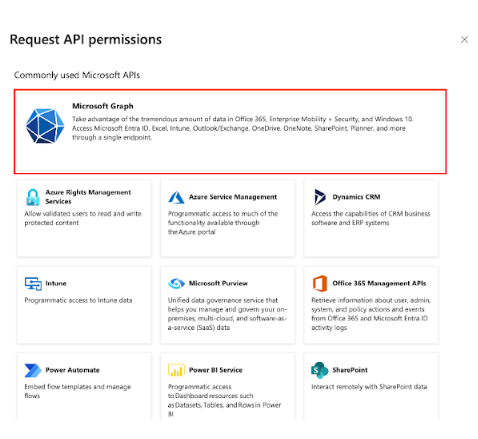
- Add the following permissions:
- Delegated permissions:
- User.read
- Application permissions:
- AuditLog.Read.All
- BrowserSiteLists.Read.All
- Device.Read.All
- Device.ReadWrite.All
- DeviceManagementConfiguration.Read.All
- DeviceManagementConfiguration.ReadWrite.All
- DeviceManagementManagedDevices.PrivilegedOperations.All
- DeviceManagementManagedDevices.Read.All
- DeviceManagementManagedDevices.ReadWrite.All
- DeviceManagementRBAC.Read.All
- DeviceManagementRBAC.ReadWrite.All
- DeviceManagementServiceConfig.Read.All
- Directory.Read.All
- Directory.ReadWrite.All
- Directory.Write.Restricted
- Group.Create
- Group.Read.All
- Group.ReadWrite.All
- GroupMember.Read.All
- GroupMember.ReadWrite.All
- Place.Read.All
After these permissions have been added, they will appear as a list of configured permissions.