Autosync: Microsoft Intune
Autosync lets Follett monitor Microsoft Intune device events. When a change is made in Microsoft Intune, it will automatically be processed in Destiny based on the configured settings.
|
Important:
|
To configure Autosync to Microsoft Intune:
- Log in as a Destiny Administrator.
- Select Setup > Sites tab.
- Next to the district name, click the Edit icon,
 . The Edit District page appears.
 - Under Resource Management, click Configure.
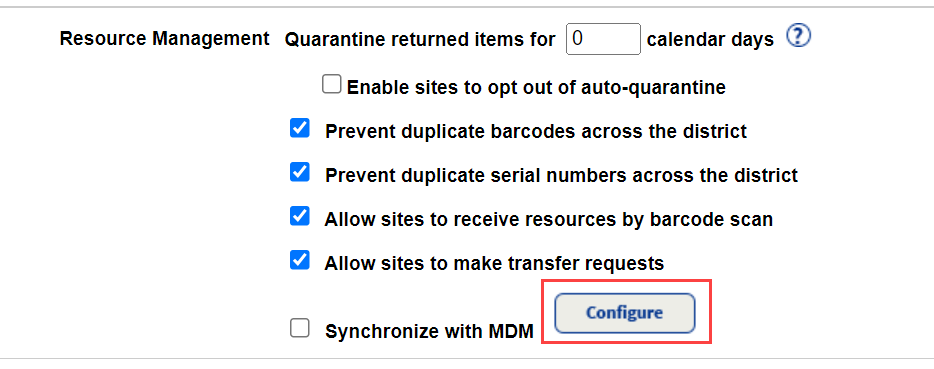
- The Mobile Device Management integration homepage appears.
- At the top-right of the MDM page, use the Account Setup drop-down to select Microsoft Intune.
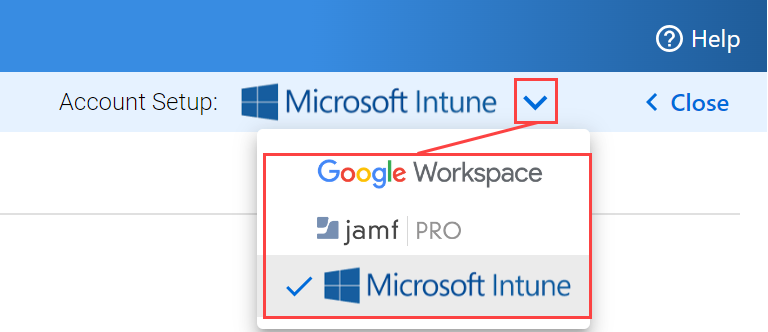
- Click the Microsoft Intune logo.

The Configure Microsoft Intune Connectivity pop-up appears.
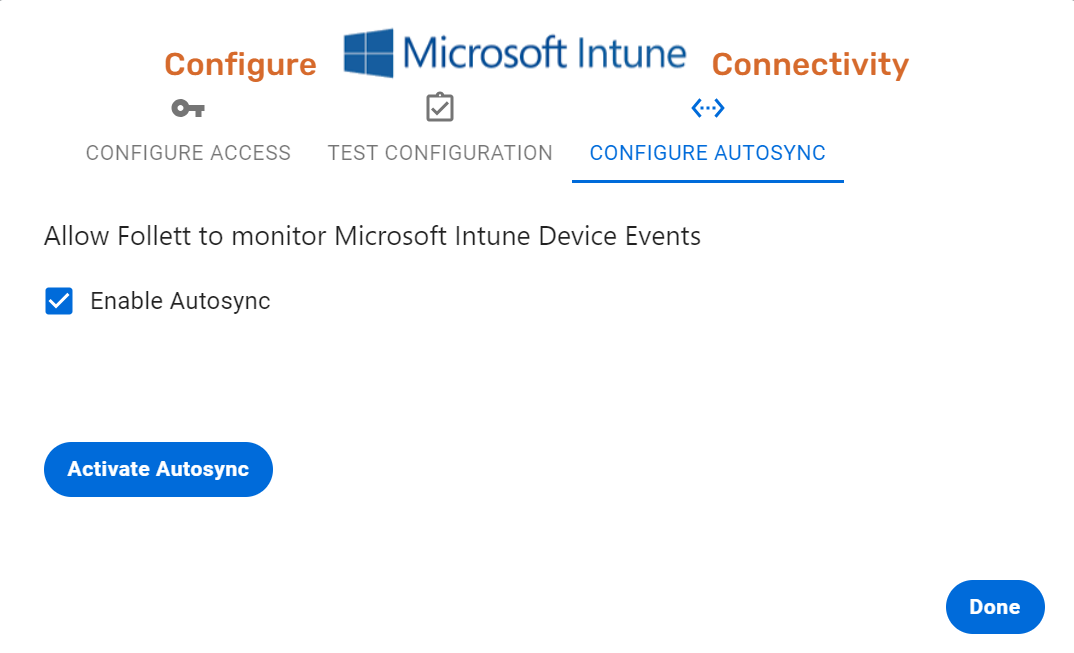
- Click the CONFIGURE AUTOSYNC tab.
- Select the Enable Autosync checkbox.
Note: You will not see the Enable Autosync checkbox unless a manual Import and Sync Data job has been completed. - Click Activate Autosync.
- Click Done.
Once you have successfully configured Autosync to your Microsoft Intune account through Destiny Resource Manager, you will not have to do it again.